Showing posts with label Tarte. Show all posts

Thursday, June 29, 2017

Video Review on the Tarte Amazonian Clay Foundation


I just posted a Youtube video wear test and review on the Tarte Amazonian Clay foundation on oily skin! Check it out at: https://youtu.be/2izbbGutLUg

I know a lot of the beauty gurus rave about this foundation but I just could not get on the band wagon with it. See my full thoughts in the video!

Wednesday, May 3, 2017

Full Face Everyday Routine


This is my full face routine without forgetting anything this time! :) I did try out a new primer in this look too. Otherwise these are my go to products for my everyday makeup routine. Without rambling on much more let's get into this look!


Here is my bare face washed and moisturized and ready to go. I washed and moisturized with my normal Paula's Choice products as usual.


                                                                   I'm rocking this t-shirt that my mom's boyfriend bought me last night. It's my uncle Steve's band called Stone The Crow. They are a pretty awesome rock cover band. You can find them on Facebook if you are interested.

Today I started out with my normal Porefessional primer and then on top of that I used the Smashbox Photo Finish primer. I received this sample in an order I got and I have never used this primer before so we are trying it out today.


And here we are all primed and ready to go!


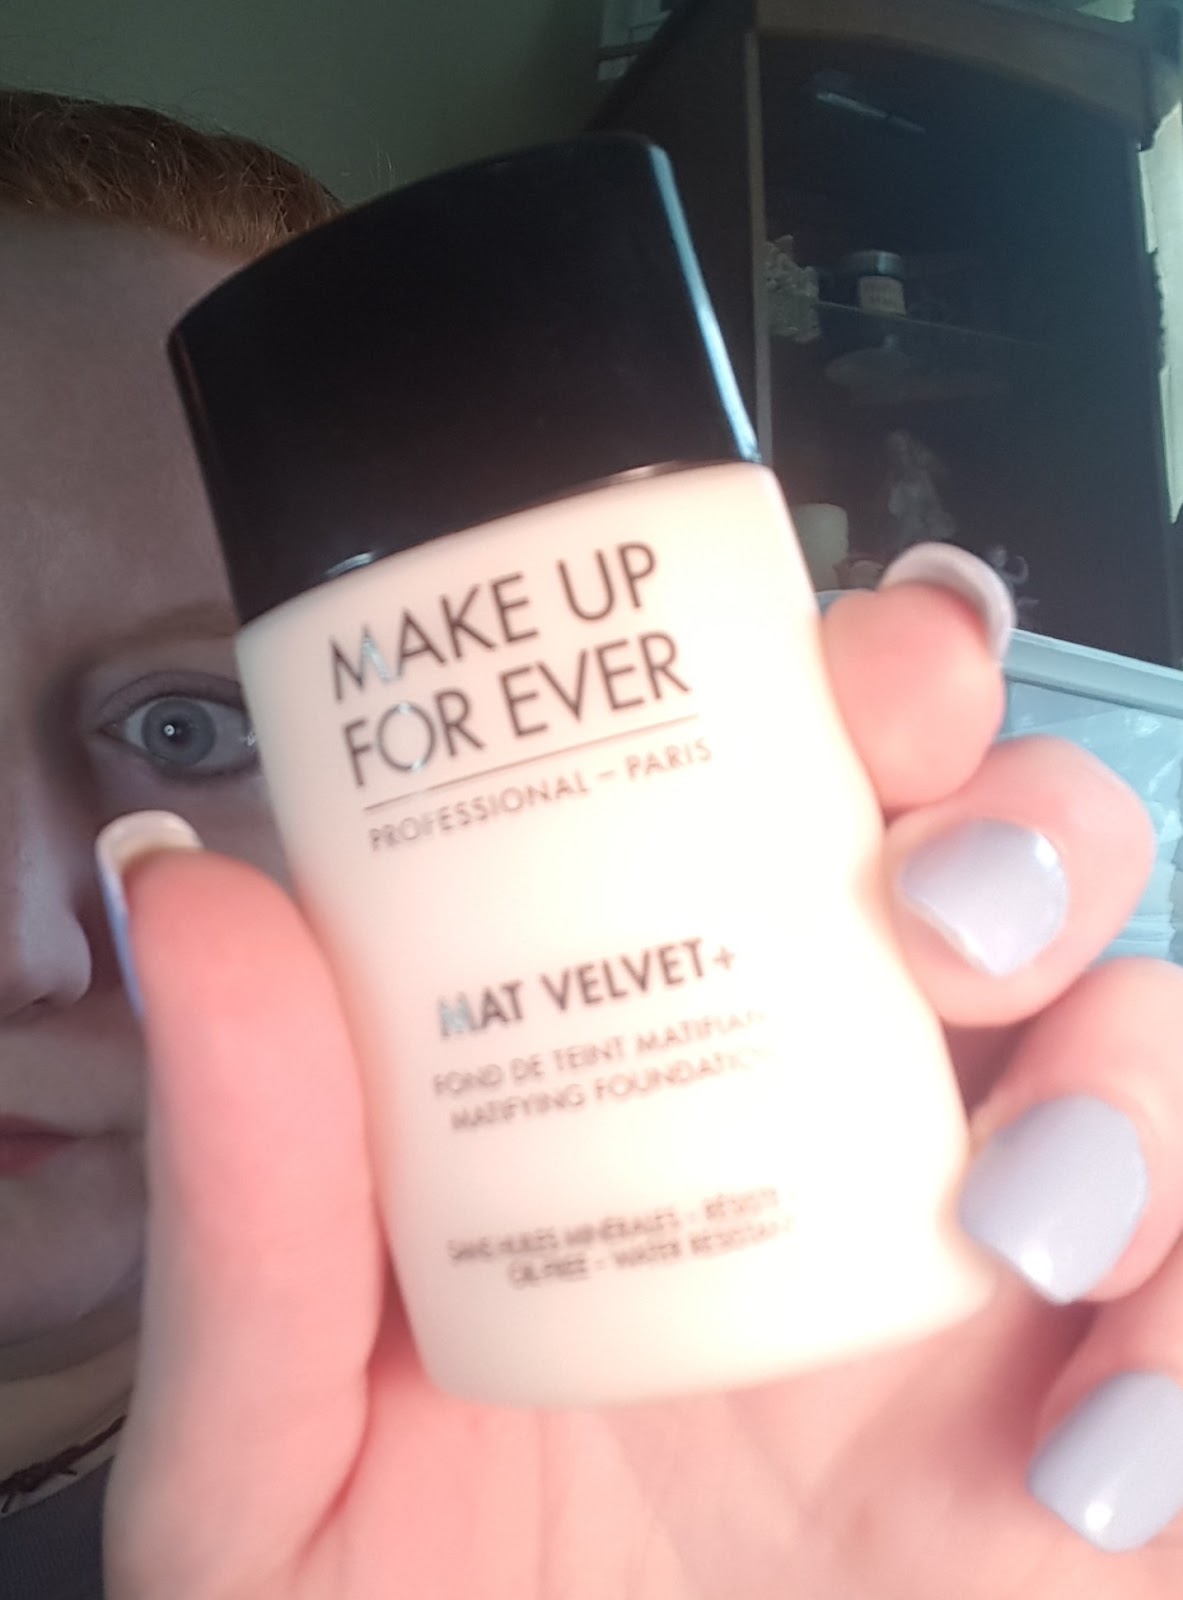
Today I will be using my usual Make Up For Ever Mat Velvet foundation and I am just stippling it in with my usual ELF brush.


And we are using the Tarte Shape Tape concealer and the same brush to blend that in under the eyes.


Setting the face with the RCMA no color powder using this Real Techniques Powder Brush.


And we are set!


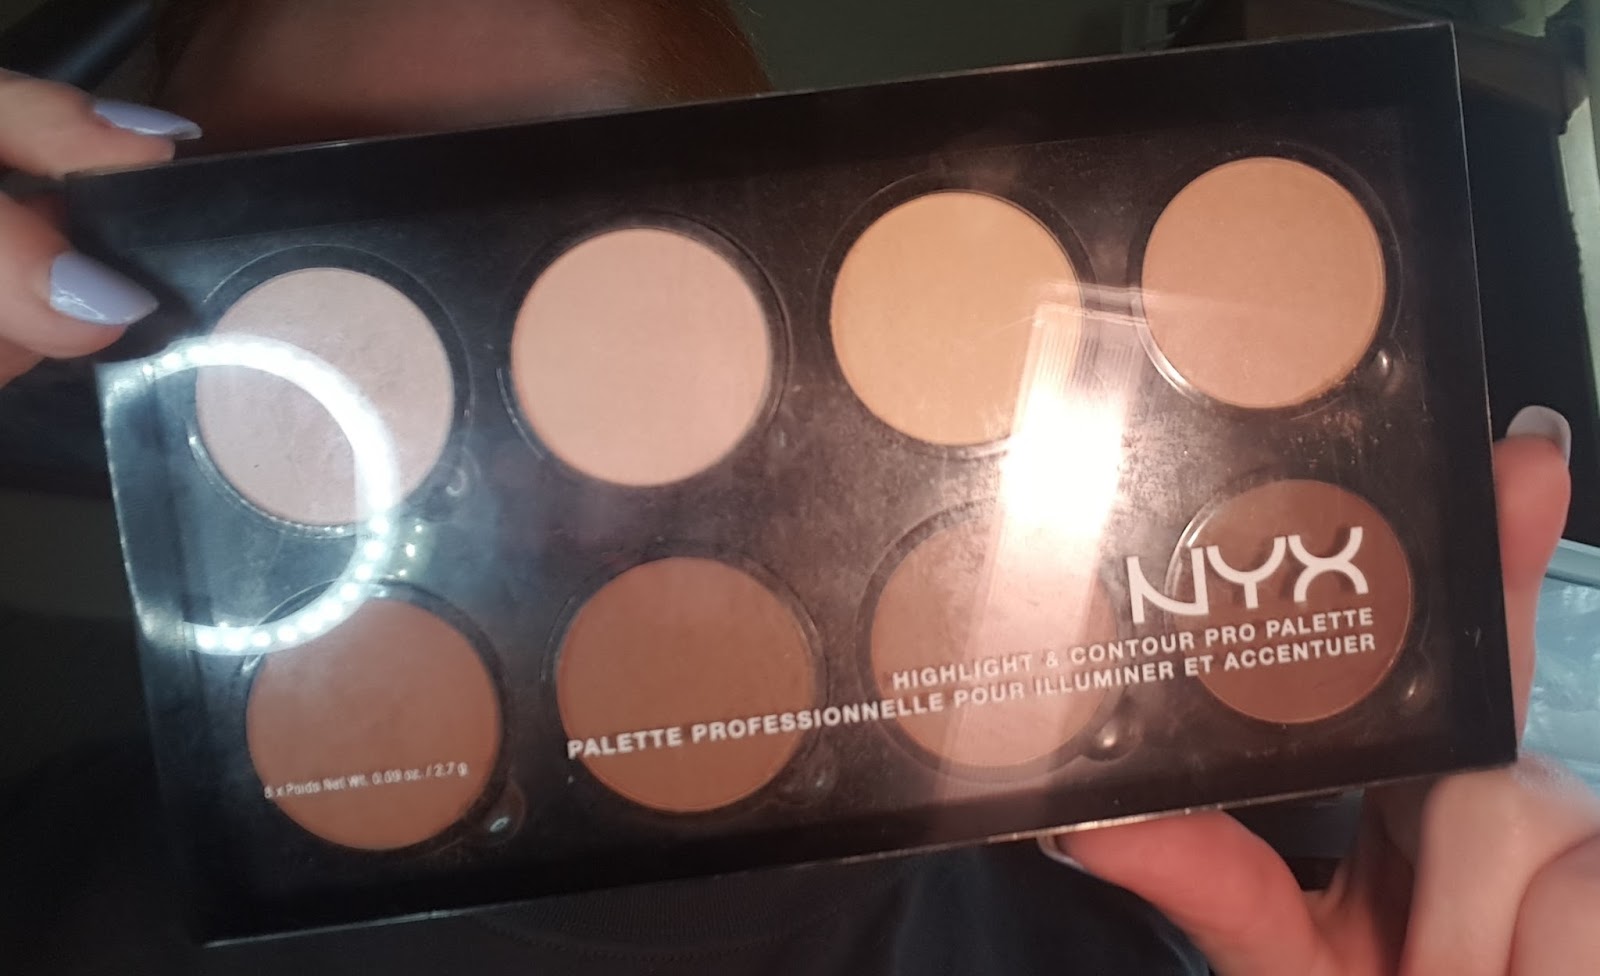
Today I am using the NYX Highlight and Contour Pro Palette to contour. I am using a mixture or 2 brushes.


I use this flat wide ELF brush to apply the lightest shade in the contour palette exactly where I want it under the cheek bone. I also us this brush to contour my nose under my jaw line.


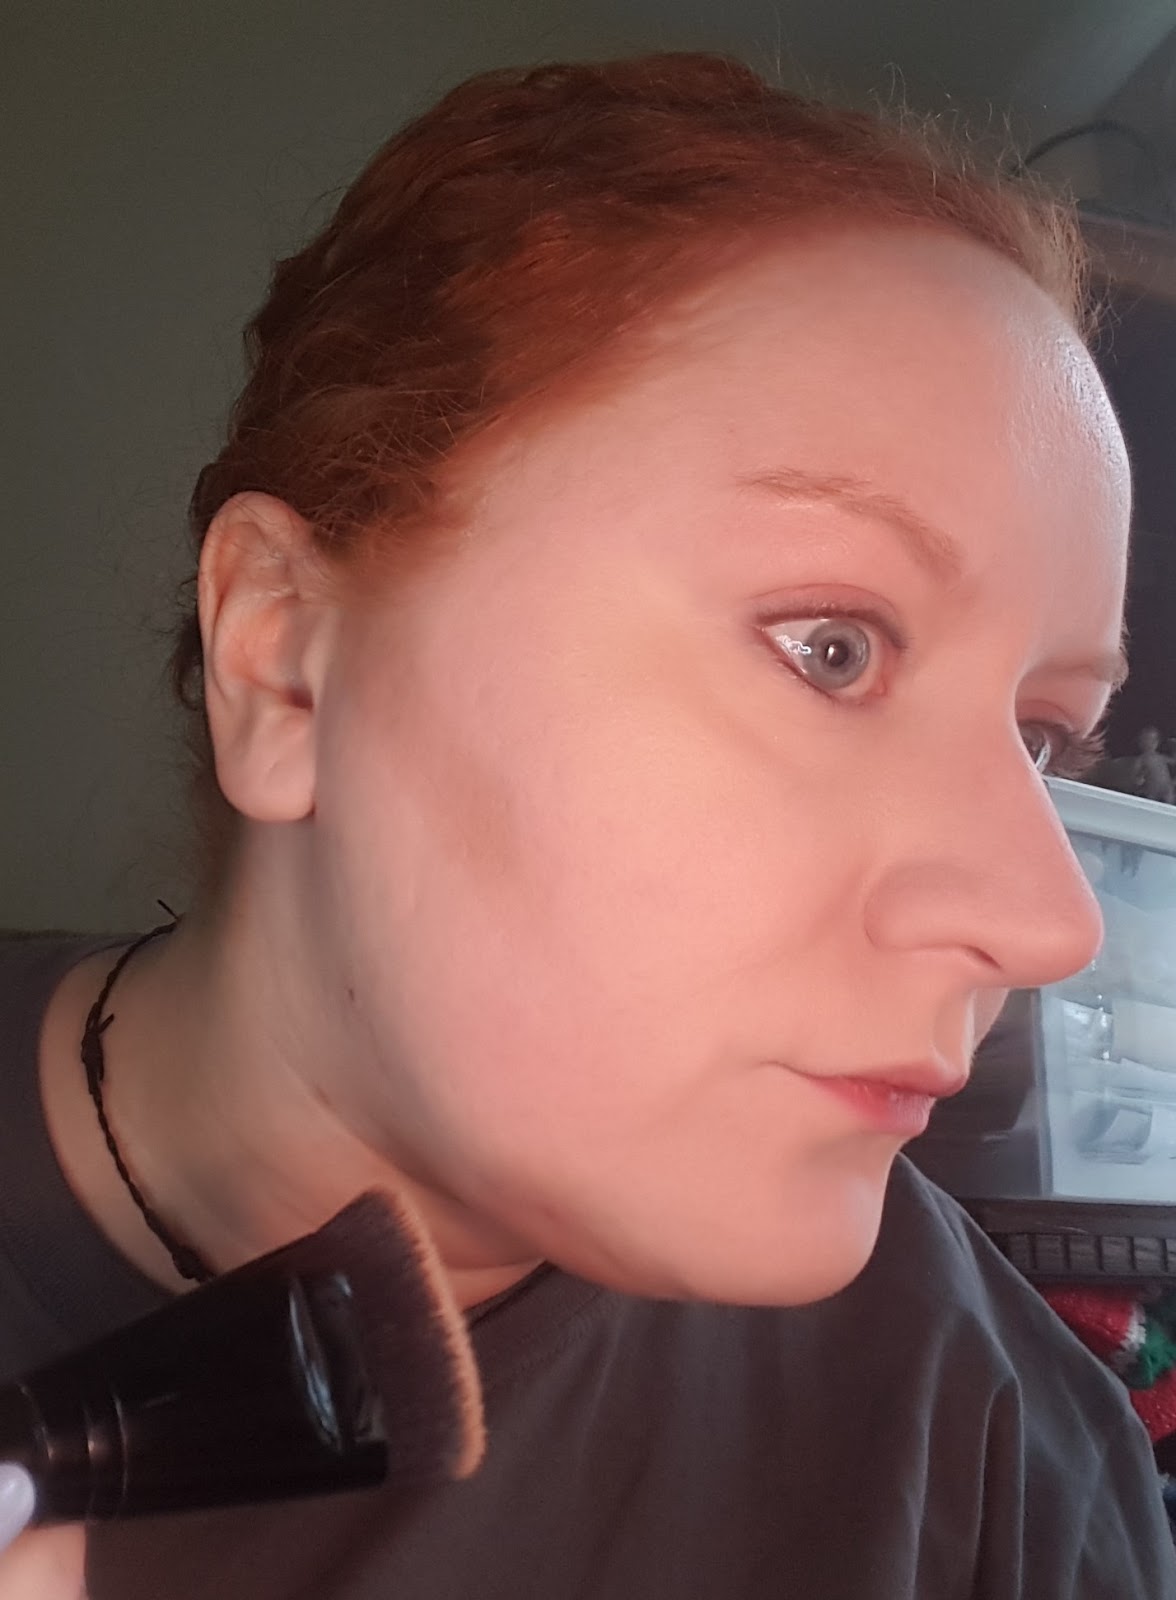
And then I use this Luxie 660 Precision Foundation brush to blend out the contour. I also use it to contour my forehead as well.


For blush I use the Covergirl Tru Blend Blush in shade Medium Rose and the Real Techniques Multi Task Brush.


I usually apply lip balm at the start of putting on my makeup but, of course, I forgot so I applied it now. I us the EOS coconut lip balm.


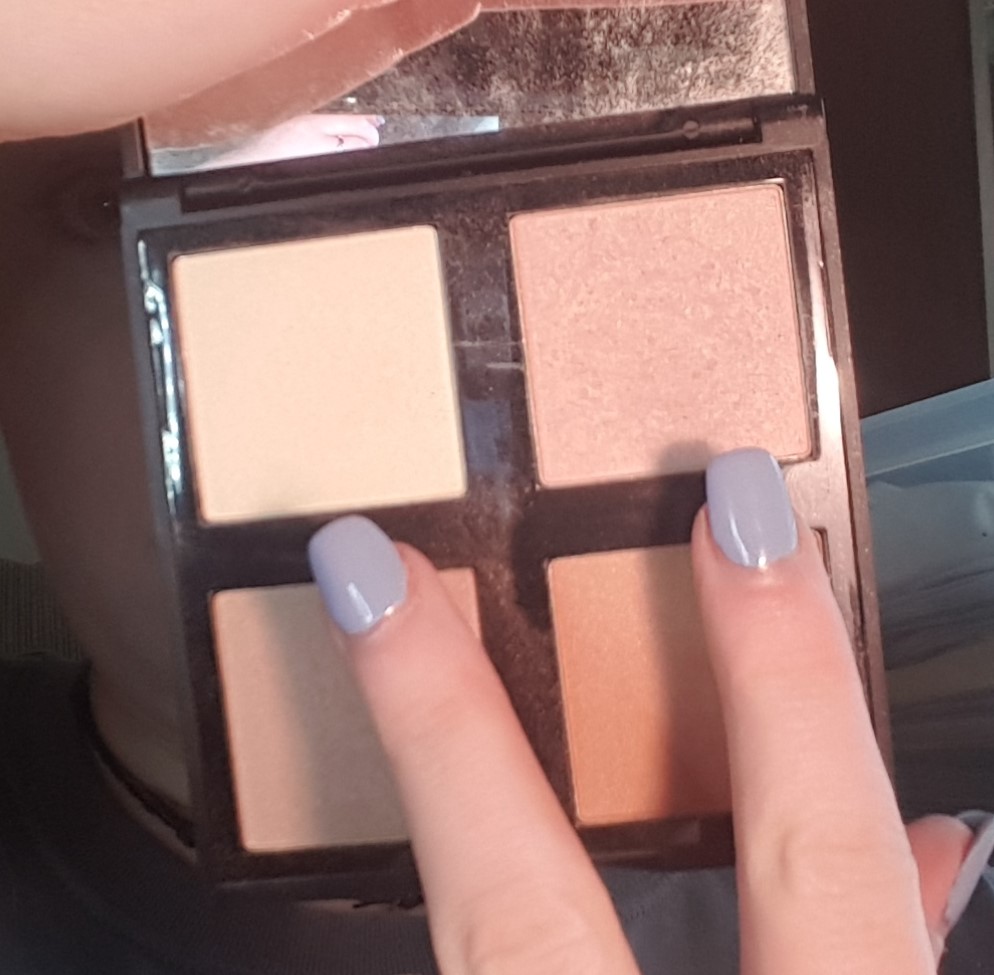
I used the 2 top, lightest shades in the ELF Illuminating palette to highlight along with the ELF Flawless Concealer Brush. I am not sure how someone could use this to conceal because it is rather large but I find it perfect to apply highlighter!


Look at that pretty glow!


And here is the final look! Thanks for watching this tutorial and if you enjoyed this please do me a favor and subscribe to e-mail notifications for when I release new blogs! You can do that from the link on the right hand side of the page. Please comment with any thoughts or suggestions or if you would like to see more blogs like this one! Thanks and have a beautiful day!

Monday, May 1, 2017

Blue Smokey Eye Look


Hi there beauties! Today I am actually doing a full face makeup look. This is my first time doing one on my blog and most of this type of look that I have seen have been on Youtube. Which, by the way, I am debating on starting my own channel. Give me your thoughts on that in the comments blow! Or you can go to my Contact Me page and get a hold of me there!


So here we go! This is my go to face routine. I have already washed and moisturized my face using my Paula's Choice products. And here is my beautiful, clean bare face!


I primed my face using 2 different primers. I started with my Artistry Exact Fit Beauty Balm Perfecting Primer. It smooths out my pores and skin tone and gives a subtle glow to the skin. And then I followed with my Make Up For Ever Step 1 Mattifying Primer. I only put this in my areas that get oily and it helps to keep me matte throughout the day. I have a few spots that get a little dry and this stuff is so good at mattifying that it will make those spots dryer if applied there. And this is what my primed face looks like.


And then, of course, my furbaby Wally has to come in a make his photo bomb appearance! It wouldn't be a true blog for me if one of my furbabies wasn't in a photo!


I do like to color correct prior to applying foundation to cancel out my red spots. I like to use the green shade in the NYX Color Correcting palette. I like to use this tiny detailing brush from ELF for this because it gets the product right where I want it and then I blend it out with my finger.


And here is my very
concentrated while applying
my color corrector face.
And then the finished
color correcting
product.


Now I will apply my all time favorite foundation! The Make Up For Ever Mat Velvet foundation in shade 15, which is the lightest shade they have. Shout out to all my pale princesses out there!


I like to dot it on my face one section at a time and then stipple it on using a very dense brush like this ELF one. I feel like I get the most coverage this way.


And like magic, I am flawless! It is the perfect shade for me, it is high coverage without being cakey and uncomfortable. I love this stuff!


And now I use the Tarte Shape Tape concealer in shade fair to conceal under my eyes. This stuff is the best at concealing my dark under eyes without creasing.

And here we are, concealed to
perfection and set using the
RCMA No Color Powder.

And, for some reason, I didn't show my contouring, highlighting or blush. Not sure what happened there so we will just move right along...

I did my brows using the Anastasia
Beverly Hills Brow Wiz in the shade
Auburn. They might look kind of crazy
but they look better when my whole
face is done!


I primed my eyes using the Urban Decay Primer Potion and set that in place with a light dusting of the RCMA powder. I then went into the Kat Von D Shade and Light Eye palette. I used a mixture of the shades Ludwin and Samael as a transition shade in the crease.


Then I went in with the L'Oreal Infallible eye shadow in the shade Timeless Blue Spark all over the lid.


I then placed some of the shade Sytry from the Shade and Light palette in the outer V to darken it up.


I then used my Maybelline Eyestudio gel liner and lined my top and bottom water line and smudged it out a bit.


Then I used my holy grail mascara: the Younique Moodstruck 3D Fiber Lashes. That made my eyes go from a little bit of a blue pop to hello bright blue eyes!


And that completes this look! If you enjoyed this blog please do me a favor and subscribe to e-mail notifications for when I release new blogs! You can do that from the link on the right hand side of the page. Please comment with any thoughts or suggestions or if you would like to see more blogs like this one! Thanks and have a beautiful day!