Showing posts with label DIY. Show all posts

Monday, June 12, 2017

DIY Body Wrap


I discovered DIY body wraps last year. At the time I had just lost a lot of weight and was looking for something to help tighten my skin up and help with the sagging skin. I tried them out and it did work for a while.

I gained my weight back and then some. Now I have lost about 13 pounds and am needing to firm up again. So I decided to show you all how this works.

There are tons and tons of different recipes that you can try on the internet and Pinterest. But I have found that the most effective for me recipe is the simplest.

What you will need:

  • Coconut Oil
  • Plastic Wrap
  • Scissors
  • Ace Bandages

Yes, that is really all you will need. Now choose the part of your body you will apply this to. It is very tempting to decide to do your whole body but this is not wise. The main point is to make the part of the body that you apply this to sweat. So you will be building up heat. If you apply this to your whole body you many over heat yourself.


Today I decided to do my torso. Now you disrobe the part of the body. I first measured them for a "before". The widest part of my torso is about 3 or 4 inches below my belly button and it measured 44.25 inches. I also took before pictures.


Scoop out some of your coconut oil, which may look like butter at this point but the heat of your hands will turn it to oil. Slather is all over the part of the body you are applying it to. Do not rub it in. You will want a layer of it on the skin.


When you feel like you have a layer of oil on your skin then start wrapping. Take the Plastic wrap and wrap the area very snugly. Do not wrap it so tight that it cuts off circulation! Just nice and snug like a big hug. Wrap until you have about 6 or 7 layers of plastic wrap on that part and cut the plastic wrap.


Then take the ace bandages and wrap that area over the plastic wrap. Now I don't do this all the time. Today I just put on a warm, snug pair of sweat pants over top. The point is to heat up that area and make you sweat.

You can either attempt to sleep in this and leave it on over night or you can just leave it on for a few hours during the day. There's no way I could sleep like this so I choose to do it during the day. Now I would suggest doing something where you can be sitting down while you have it on. The reason being that the more you move around, the more the plastic wrap will move. It can slide around and no longer cover the area you were wanting to target. Maybe read a book or take a cat nap.

If you have dogs like mine, who LOVE to eat coconut oil, they will follow you around the house, trying to lick the ace bandages! Really, you would have thought I was carrying around a piece of steak in there!

Here's the biggest part: while wearing this drink TONS of water!! You do not want to dehydrate yourself!

After a few hours or until you just can't wear it anymore you can remove it. The best way I have found is to cut a straight line through all layers of the plastic and then you can just pull it off. Here's a helpful tip: remove it in the bathroom because you will want to jump straight in the shower. You will feel sweaty and greasy. The good thing is that coconut oil is good for your skin so it should be nice and soft afterwards.

Then measure the area again making sure to measure in the same spot as before. If you don't lose much or anything, don't lose hope. Just try it again in 2 days.


I measured my torso in the same spot and I am now down to 43 inches! 1 and a quarter inches loss of the extra flabby skin is fabulous! And I only left it on for 4 hours! Here are my after pictures!


If you enjoyed this DIY give it a Google+ thumbs up! Follow in the spot on the right side of this page if you would like updates when I post new blogs! Have a beautiful day!


Saturday, May 27, 2017

DIY Acrylic Dip Manicure

I stopped paying for manicures about 6 months ago. I couldn't afford them but despite my constant vitamin taking, my nails wouldn't grow in strong enough to stay long. Plus I love the look and feel of acrylic nails. So I went to Sally's and bought a gel manicure kit.

I had the hardest time applying this gel because you had to squeeze it on in an even layer and I just couldn't make it work. As I have said in previous blogs, because of my stroke my hands shake constantly. It is difficult enough just to paint them, much less squeeze gel onto them evenly. It was messy and uneven and I vowed never to do it again.

Then I went into Sally's one day to look at some makeup items for my kit and I came across an acrylic dip kit. I purchased this and gave it a shot. It comes with some white tips to glue on (though I prefer to use t he clear ones), nail glue to glue on the tips, Brush on nail glue, the acrylic powder, a setting spray and a very cheap nail file.

I have loved this kit and now continue to repurchase it. Here is my steps that I go through to do my manicure.


My nails are in pretty rough shape today, but here is what they looked like to start with.


I use this cuticle oil and push back and trim my cuticles.


I buy these nail tips and pick out a size that fits each nail and lay them out.


I glue the nails on using the stick of nail glue that comes with the kit. And then goof off and pretend that I might actually keep them this long before realizing that this is a completely ridiculous.


I then file down and shape the

nails. The major key is to file the tip down so that it is flush with your natural nail.


Now you get the rest of the kit out.


Here is the steps to applying this.

You paint on the brush on glue and dip your finger into the powder. I leave my finger in for about 5 seconds so that the glue can absorb as much as the glue as possible.

Then you use the body of the brush to tap the glue onto the powder. The powder will become soaked and turn a more clear color instead of a powder. But make sure that you wipe the brush off on a paper towel before you put it back into the container. If you don't, the brush will start to warp and get stiff and it makes it hard to brush on the glue.


Once the glue is coated in more glue you dip it into the powder again. Repeat this step one more time.

Once you have dipped your nail into the powder 3 times, you use the brush body and coat the nail in brush on glue once more. Now you spray it with the spray. Wait 5 seconds and brush on more glue and spray it again. After 5 more seconds you brush on and spray one final time. Do this on every nail. It will look uneven and dilapidated.


Now you file... and file... and file. I get a file a file at Sally's that is very coarse and then one that is less coarse and alternate between them. File them into the shape and thickness that you want. Then wash your hands and I advise putting on some thick lotion. Mine look like this when I am

done.

And you are ready to paint them! I just love this kit! If you enjoyed this tutorial give it a Google+ thumbs up! Follow in the spot on the right side of this page if you would like updates when I post new blogs! Have a beautiful day!

Friday, May 19, 2017

DIY Starbucks Iced Chai Latte (Light Ice)

Today's blog is a DIY. I love the Iced Chai Latte from Starbucks and would get one everyday if they weren't so expensive. Well I now can have one everyday and sometimes twice a day without breaking the bank. I have figured out how to make this delicious drink at home and want to share it with you!

There is only 3 ingredients. Your milk of choice (skim, 2%, almond, coconut, soy, etc), ice, and chai tea concentrate. The Tazo Chai Latte concentrate is what they use in Starbucks and the brand that I buy. Now it can be a little pricey, at Walmart it is $3.28 for a 32 ox box. But you can purchase it at Costco for $7.99 for 3 of the 32 oz boxes.


You start with a glass and fill it about a third of the way up with ice. Now I prefer less ice in mine so you may want to put more if you prefer lots of ice.


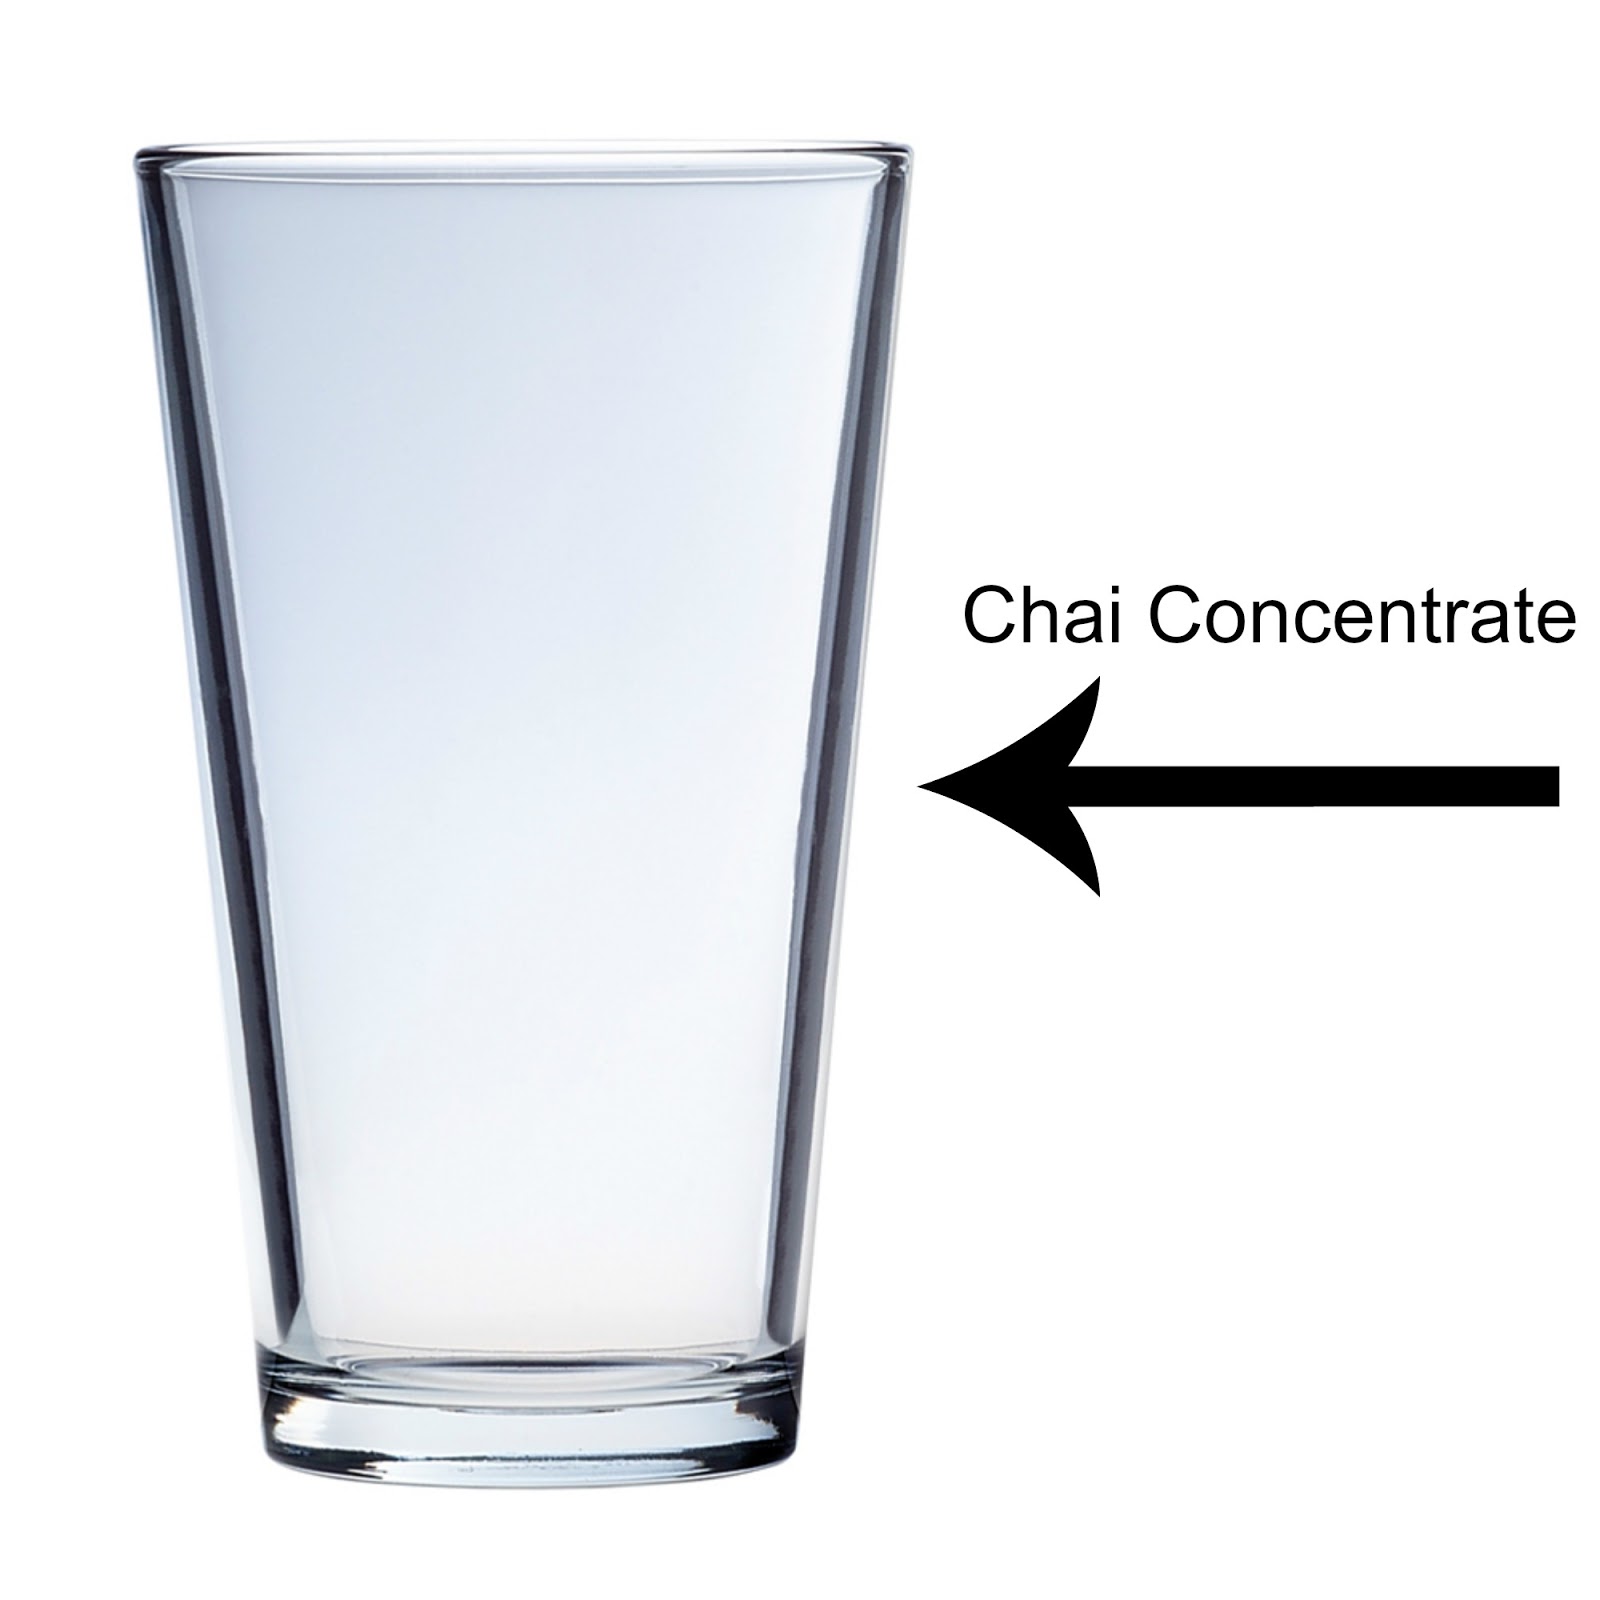
Next you fill your glass half way with your chai concentrate. You can adjust this to your taste. If you want the chai taste a little stronger than put more concentrate in it.


Then you top off the glass the rest of the way with your preferred milk. And then give it a stir and you have yourself a Starbucks quality chai latte! Yes, it is really that easy!


If you enjoyed this DIY recipe then please follow my blog for more DIYs. You can find that option on the right hand side of the page. If you have any other tips and tricks on making one of these please comment below. Thank you and have a beautiful day!
Friday, May 12, 2017

DIY Sign For A Mother's Day Gift


I decided to do a DIY project as a Mother's Day gift for my mom this year. I bought my supplies at Hobby Lobby and most of it was on sale so I only paid $16 for the supplies! Here is everything that I needed for the project.


I painted the entire board with white matte paint.


It wasn't quite as opaque as I wanted it to be so I gave it another coat.


I then took the sanding block and sanded the edges and between the boards to give it a weathered look.


I sketched on the design that I was going to paint on in pencil so if I made a mistake (as I often do) I could erase it.


Using a very thin paint brush I painted on the design in black matte paint.


I glued the flowers on using Gorilla Super Glue and this project is done! I think it turned out super cute and I can't want to give it to my Mom on Mother's Day! Hope you have a fantastic Mother's Day!!


Monday, May 8, 2017

DIY Mother's Day Bracelet


I decided to make my step mom a bracelet for Mother's Day this year. I got all of the "ingredients" at Hobby Lobby where it was all half off! This is what I got. Because it was half off I only spent $11.98!

I cut off a piece of the elastic thread about double the length that I wanted. Later on I decided that I wanted to double it up to make the bracelet stronger. 


I took everything out of the packages and separated it all. I started to set it all up in a pattern.


And strung it on the thread.


It wasn't long enough so added more.


Then I decided that I didn't like how clumped together it looked so I added an extra pearl between each rose gold bead. This is the finished pattern.


I then knotted it. It is really difficult to show knotting with just pictures so I am going to link to the Youtube video that I learned to knot from here. I did also add a drop of super glue to the knot as well. Be sure to hold the 

end beads apart while the 
knot dries so they don't glue 
together.


Trim the ends and you are done!


I decided to make a second one to match with the leftover beads.


Thanks for watching this tutorial and if you enjoyed this please do me a favor and subscribe to e-mail notifications for when I release new blogs! You can do that from the link on the right hand side of the page. Please comment with any thoughts or suggestions or if you would like to see more blogs like this one! Thanks and have a beautiful day!