Today I posted an Eye Tutorial on Youtube. I absolutely love this look! The star of the show is the Naked Cosmetics Eye Pigment in Desert Sunset 02. You can purchase this pigment through the link in the right hand bar of this page. This is an affiliate code that I do make commission off of. Feel free to purchase from somewhere else if you do not feel comfortable using an affiliate code! Here is a link to the Youtube Video:
Hope you enjoy this tutorial and feel free to comment on the video or on this blog with any comments/questions/concerns/suggestions! Have a beautiful day!

Showing posts with label ELF. Show all posts
Showing posts with label ELF. Show all posts
Saturday, June 3, 2017
Friday, May 5, 2017
Purple Eye Look

Today I am doing a tutorial on this purple eye look. Without further adieu, here we go!

 I am starting with my face makeup on and nothing else. And I am starting out on the right foot with an upside down picture of my eye primer that I used! I use the Urban Decay Primer Potion. I also dust a little RCMA No Color Powder over top to make the eye shadows blend over top easier.
Then I curl my lashes.


I started out with this shade in the Morphe 35O palette and this SLMissGlam L34 Blend Beauty brush.
 Now I am going to use this shade as a transition shade and blend this into the crease using small circles and windshield wiping motions.

Now I am going in with this shade of the same palette and this Wet n Wild brush.


outer third to give it some depth.

shade in the Morphe 35B palette and this ELF Eyeshadow "C" brush.

I packed this shade onto the lid until I had the color payoff
that I was looking for to set and under tone for the top shade.


Now with the same brush I am taking
this medium purple shade from the same palette and packing on the outer half of the eye.


Now I am taking the dark purple shade directly below that with this Vera Mona brush and applying it to the outer third of the eyelid.

 Using the same brush and L'Oreal
 Infallible Eye Shadow pressed pigment in shade Purple Priority I first attempted to apply it by spraying my brush with some setting spray but I couldn't get it to apply across the lid, it just clumped up in one spot.

I then used my finger to apply the shadow and it applied much better this way.

 I then took my favorite water line eye liner, the Maybelline Eyestudio using the brush that comes with it. I feel like when other people show a picture lining their water line they look so much more graceful than me.

And today I am trying out a new eye
liner. This is the Absolute New York Nano Liner.


And our wings are on!


I then took this shade in the Morphe
35O palette to highlight my inner corners.


I did step outside of my normal holy grail mascara and used my old favorite, the Too Faced Better Than Sex mascara. This is one eye done and one eye not.
I'll even let you in on a little trick of mine. To keep my mascara from bleeding throughout the day. I dust a little RCMA No Color Powder with a fluffy brush under my bottom eyelashes!

And here I am deciding what color lips to do with this look.


I decided on using the NYX
retractable lip liner in shade Sand Beige to line and fill in my lips.


And then I used the NYX Soft Matte Lip
Cream in shade San Paulo.
And here is the finished look! I absolutely look these colors with my blue eyes! Thanks for watching this tutorial and if you enjoyed this please do me a favor and subscribe to e-mail notifications for when I release new blogs! You can do that from the link on the right hand side of the page. Please comment with any thoughts or suggestions or if you would like to see more blogs like this one! Thanks and have a beautiful day!

Wednesday, May 3, 2017
Full Face Everyday Routine

This is my full face routine without forgetting anything this time! :) I did try out a new primer in this look too. Otherwise these are my go to products for my everyday makeup routine. Without rambling on much more let's get into this look!

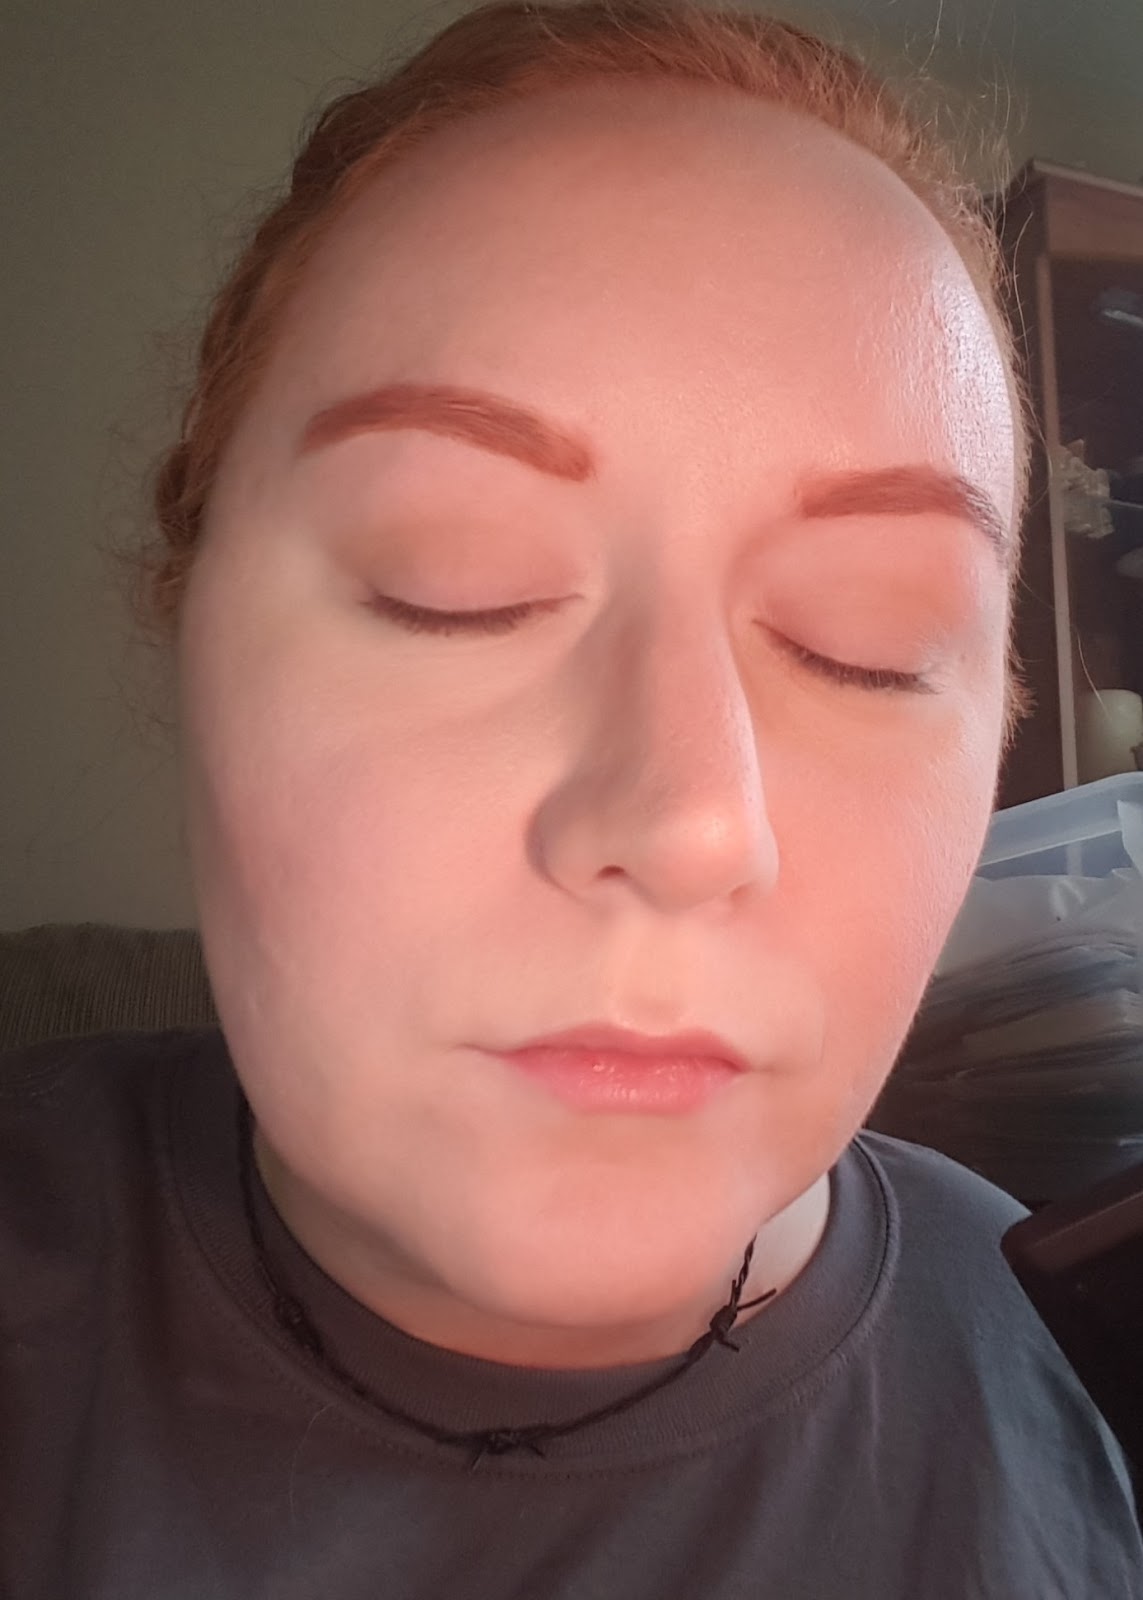
Here is my bare face washed and moisturized and ready to go. I washed and moisturized with my normal Paula's Choice products as usual.
 I'm rocking this t-shirt that my mom's boyfriend bought me last night. It's my uncle Steve's band called Stone The Crow. They are a pretty awesome rock cover band. You can find them on Facebook if you are interested.
 Today I started out with my normal Porefessional primer and then on top of that I used the Smashbox Photo Finish primer. I received this sample in an order I got and I have never used this primer before so we are trying it out today.
And here we are all primed and ready to go!
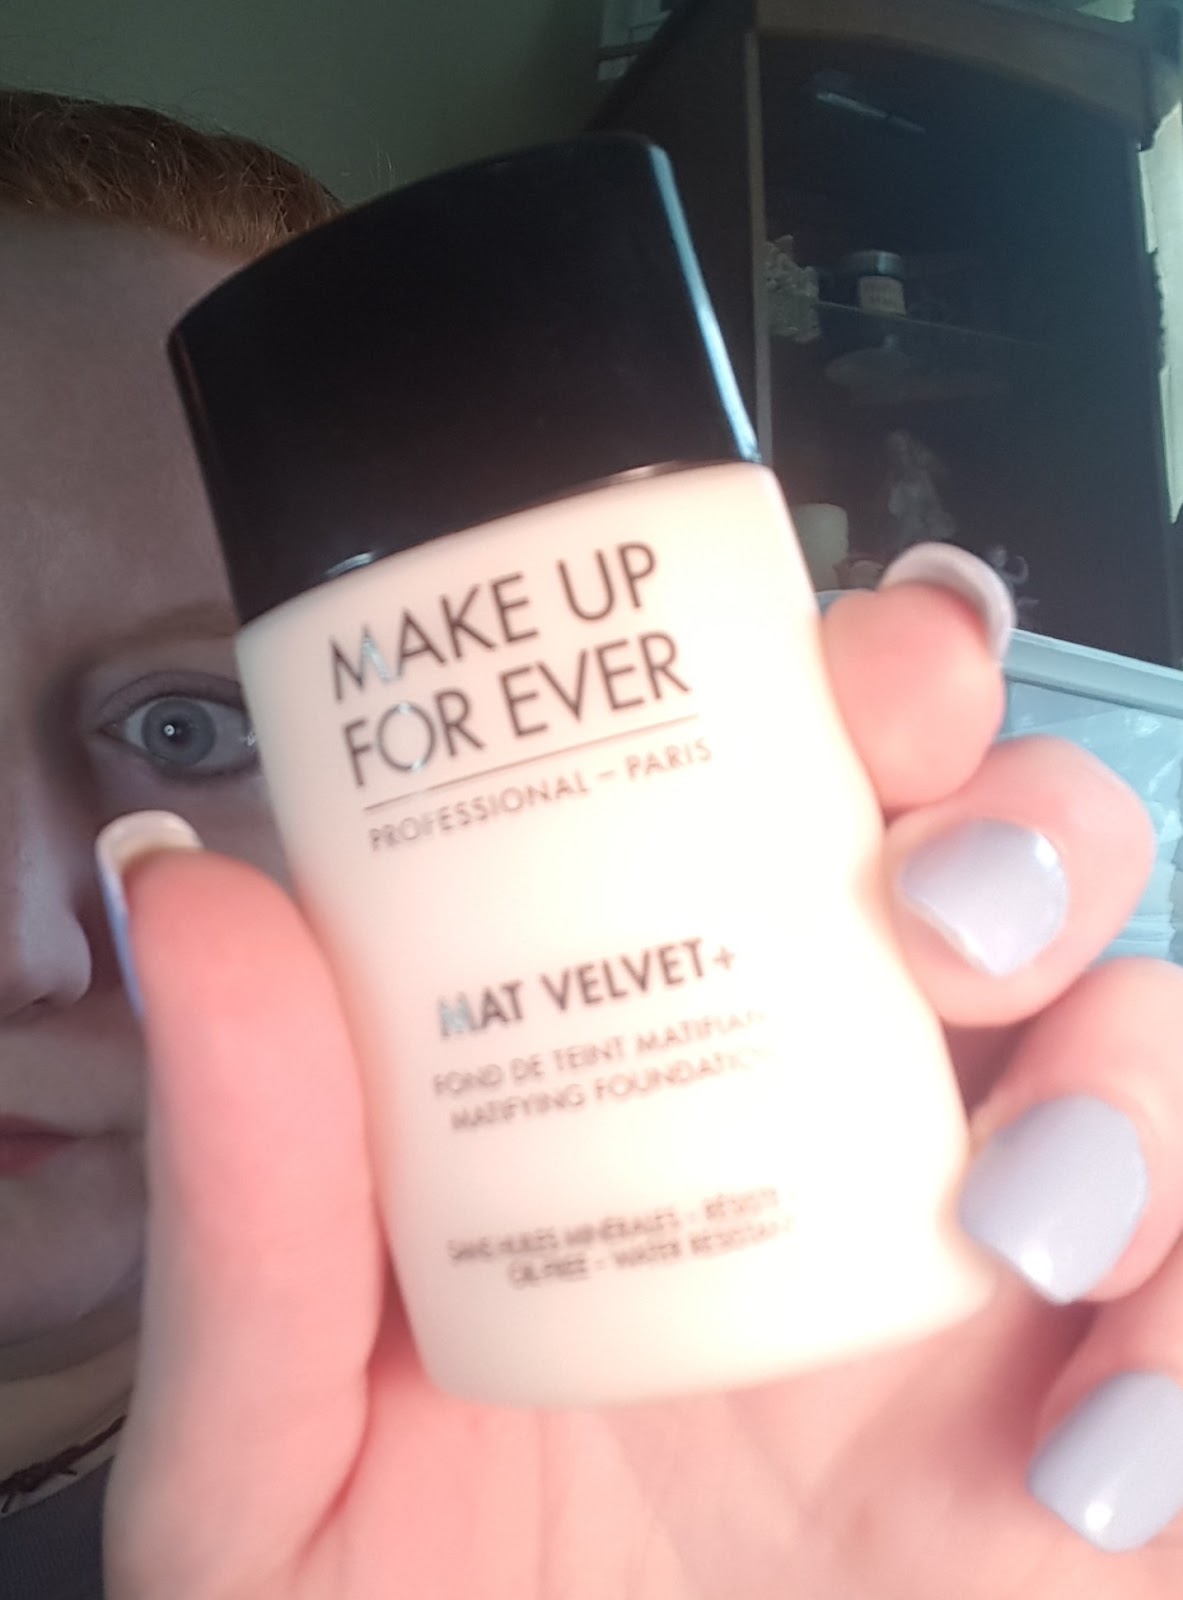

Today I will be using my usual Make Up For Ever Mat Velvet foundation and I am just stippling it in with my usual ELF brush.


 Setting the face with the RCMA no color powder using this Real Techniques Powder Brush.
And we are set!
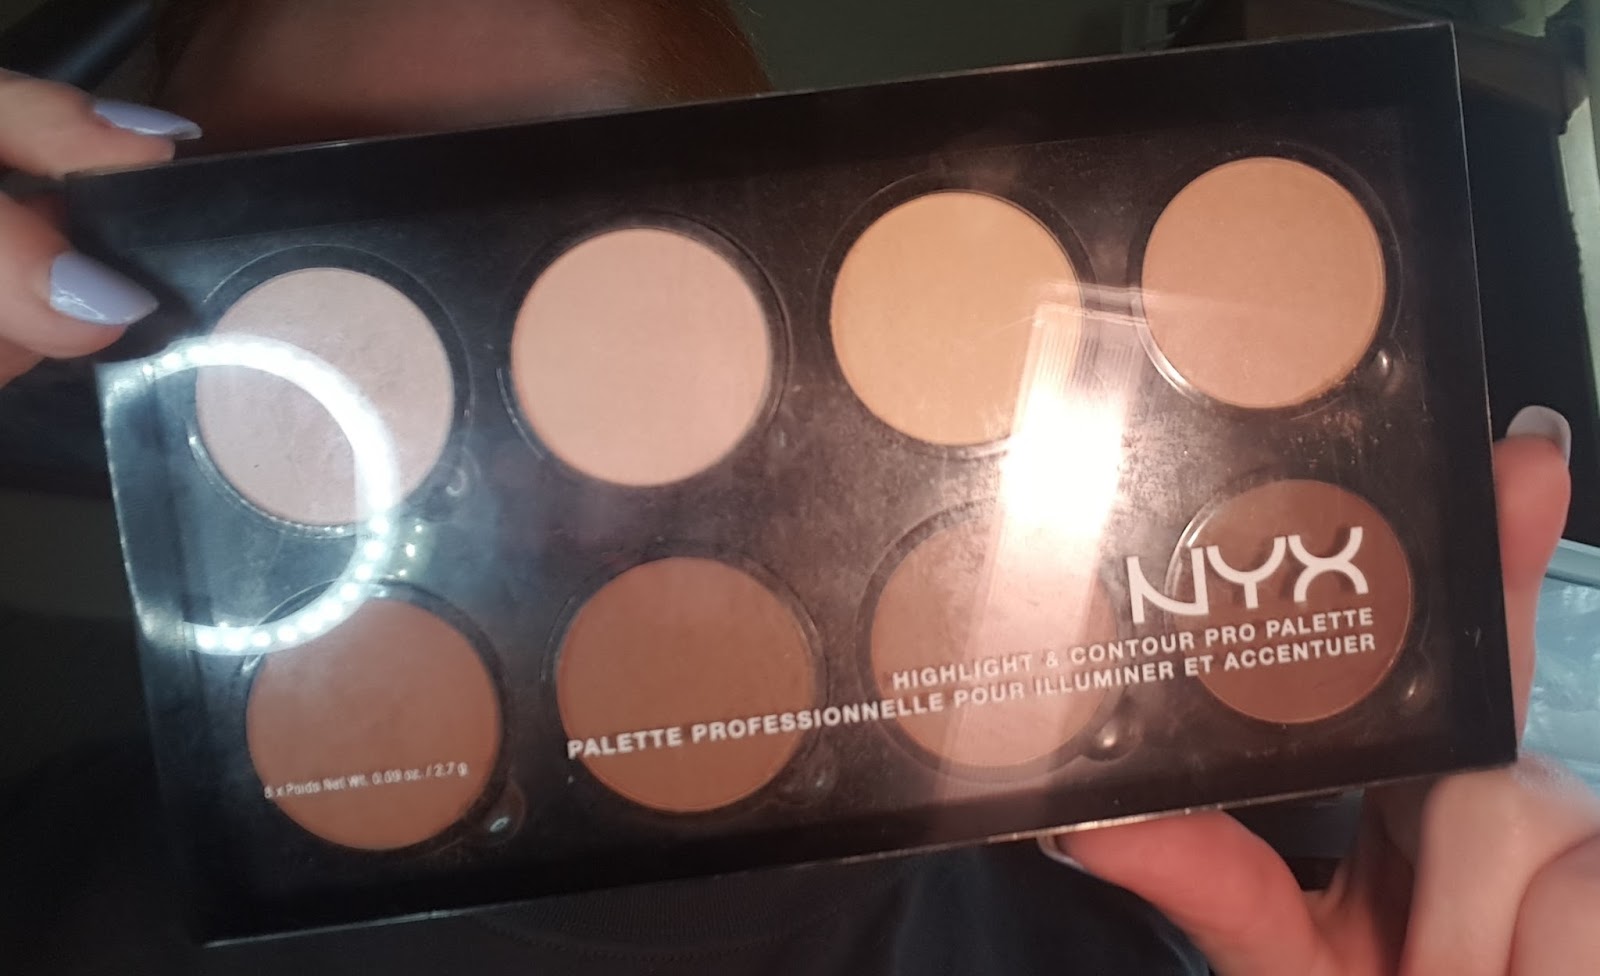
Today I am using the NYX Highlight and Contour Pro Palette to contour. I am using a mixture or 2 brushes.
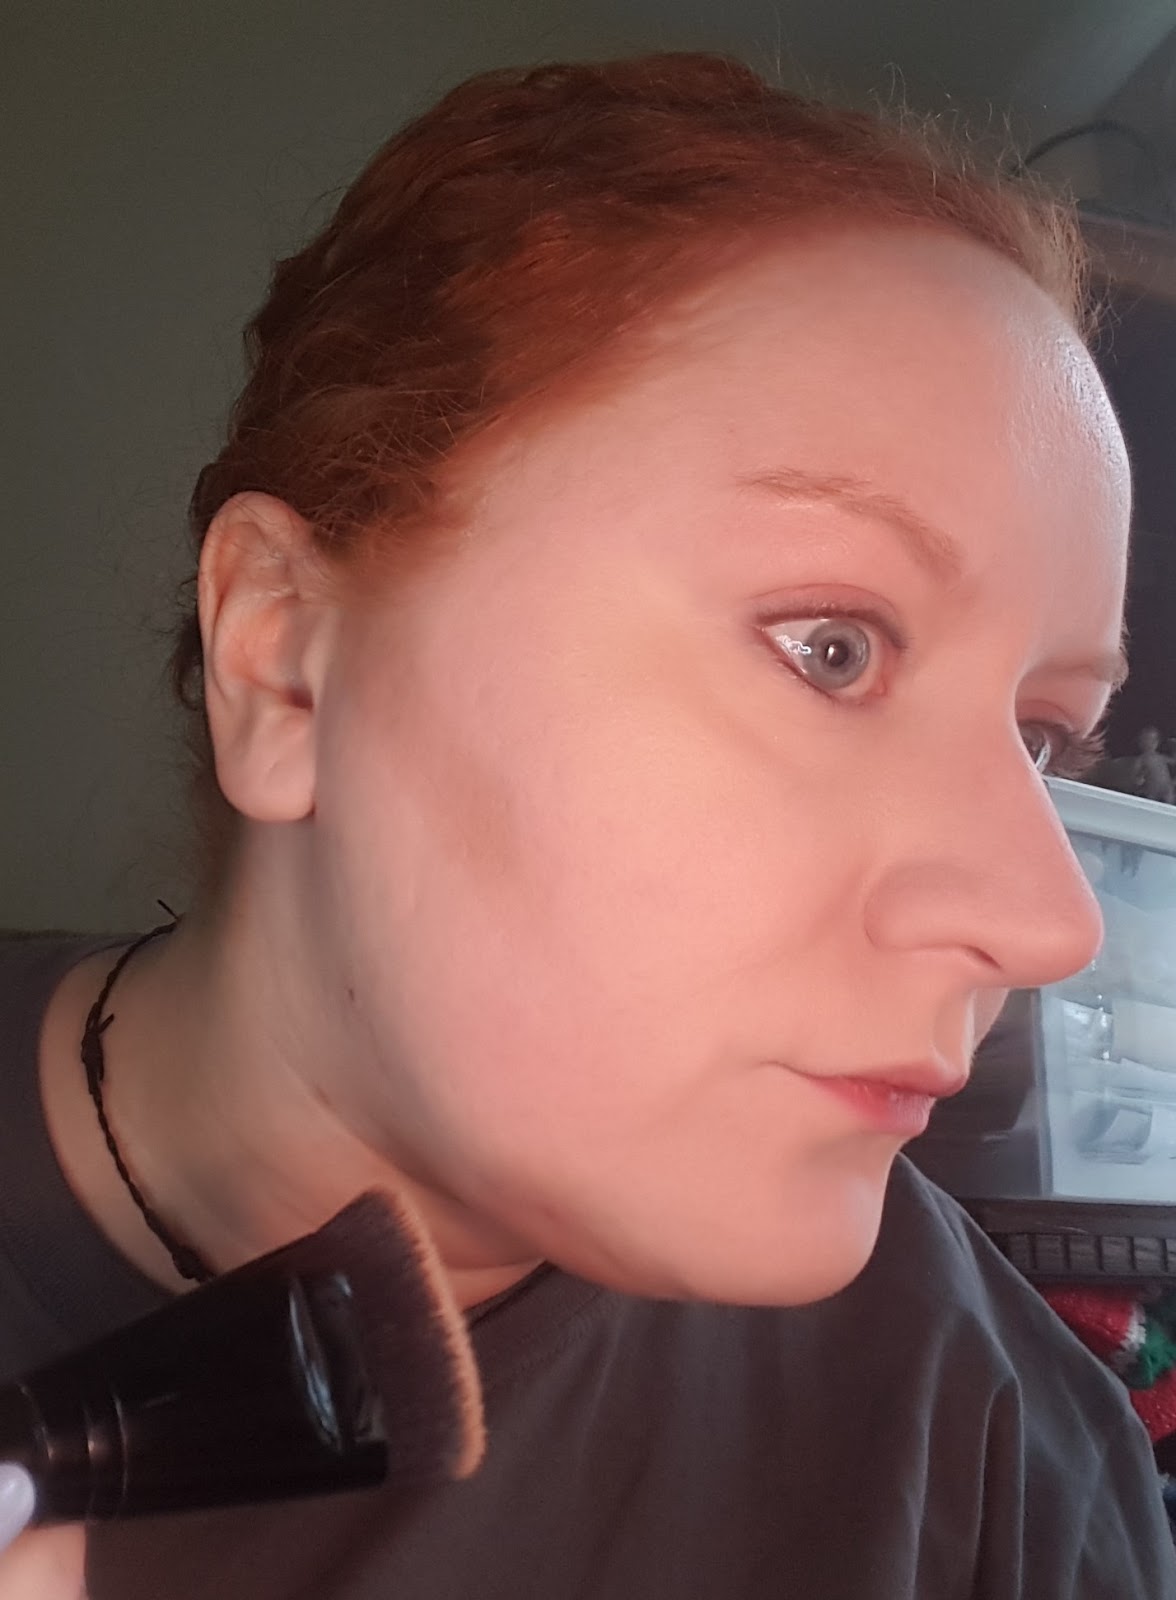

I use this flat wide ELF brush to apply the lightest shade in the contour palette exactly where I want it under the cheek bone. I also us this brush to contour my nose under my jaw line.


For blush I use the Covergirl Tru Blend Blush in shade Medium Rose and the Real Techniques Multi Task Brush.

I usually apply lip balm at the start of putting on my makeup but, of course, I forgot so I applied it now. I us the EOS coconut lip balm.


And here is the final look! Thanks for watching this tutorial and if you enjoyed this please do me a favor and subscribe to e-mail notifications for when I release new blogs! You can do that from the link on the right hand side of the page. Please comment with any thoughts or suggestions or if you would like to see more blogs like this one! Thanks and have a beautiful day!
Subscribe to:
Comments (Atom)